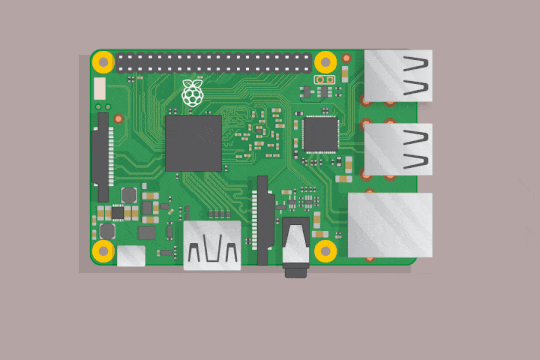
The Raspberry Pi is a small and affordable computer board. A low power ARM processor, 512Mb of RAM and a SD card, that’s all you need to host your own services. With an average power consumption of 1.5 Watt, it is still powerful enough to fulfil 90% of basic web usages. I am hosting this website using the first B model.
A static website like mine doesn’t require a lot of computing power. However if you want to use Wordpress you should consider getting a Raspberry Pi 2 or 3, they are much more powerful. Last but not least, you will need a decent Internet bandwidth, with a good upload speed.
Preparing your Raspberry Pi.
First you will need to download the last Raspbian image for your Raspberry Pi on the Foundation website. I prefer to use the headless image (Raspbian Lite) for a server usage. But remember you don’t have a graphical interface with this option. Once you downloaded and unzipped the image, you need to prepare your SD card by using Rufus on Windows, or the following command on Linux, using the dd tool:
1
dd if="raspbian.img" of="/dev/yourSDcard"
After your wrote the image to the SD card, just create a simple ssh empty file in the boot partition to enable the SSH server.
That’s it ! Now you can put the SD card in your Raspberry Pi, plug in an ethernet cable and the power plug. The first boot is quite slow, just be patient. Then you can look for your Pi’s IP address with your router (or the Fing Android app). Connect to your Pi through a SSH session (default password is raspberry) :
1
ssh pi@Pi_IPaddress
Run raspi-config and follow the official doc to setup your Pi (change your password !) and update the system.
Setup a light web server.
Your little computer is now ready. You can install the lighttpd webserver :
1
sudo apt-get install lighttpd
Now you can put the html pages you want to serve in the /var/www/html/ folder, starting with index.html.
Last step, start your server and enable the service to autostart lighttpd :
1
2
sudo service lighttpd start
sudo systemctl enable lighttpd.service
If you want to go further - assuming you opened your ports and configured a DNS domain - you can read this article to enable free SSL security on your webserver with Let’s Encrypt.